Right, so it’s you, yourself and your shadow and a 5x5 <meter> army tent roof
Could be quite an adventure, ESPECIALLY if the wind picks up and you don’t know how....


My way?...............EASY PEASY...
1: - lay down the sides flat out on the ground so that they form a square that is exactly where you want the tent to stand. The sides protect the roof from getting soiled & possibly getting “hurt” by small sharp points
1: - Lay out the roof flat & square on top of the sides (edge to edge) where it has to be, right way up...
2: - Using 1 of the poles as a measuring stick, hammer all the pegs in at the correct position IE 1 pole length away from the edge of the tent. (There is a trick to getting that right, turn peg upside down place hook whet it must be, mark where the elbow is, turn peg right way round hammer in on the mark, hook will end up exactly where it has to be)
NOTES: - work @ right angles, and step back to make sure. You don't wanna be re-pegging later.
TIP
I put all the pegs in first, AND..... AND.... hook all the guy ropes over the pegs and lay them out (there is no extra work that get's lost, you gotta put them all in anyway) as if even a slight breeze comes you are going to be very very VERY grateful indeed
Some info you need
CORRECT LENGTH OF A GUY ROPE: - 1.4 multiplied by the vertical height + 700mm for loop back and knots. 1.4 is the factor to give you the hypotenuse of a right angled triangle.
45 Deg is the best compromise between giving you tension on the tent and keeping the pole in contact with the ground the tension force is equally divided between the two directions)
BACK TO PUTTING THE ROOF UP ON YOUR OWN...
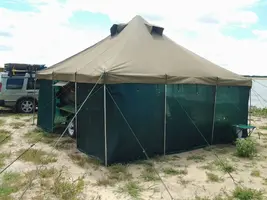
3: - Hook the 8 corner ropes (2 one each corner) over the pegs but don't pull tight, leave them as long as possible... You are heading for photo 1
4: - Put in the 4 corner poles and hook the 8 guy ropes onto the top of the 4 poles
5: - Assemble the centre pole and slide it under the canvas, and insert the spigot at the top of the pole into the socket in the middle of the roof, then lift the tent by pushing the bottom pole into the upright position. NOTE..... Step back from the tent and check that the centre pole is verticle from two sides, adjust if necessary....
CONGRATS! You have achieved photo 1 and all the hard work is done...
The rest is simple: - Take up the tension on the corner guy ropes equally, then hook the rest of the guy ropes over the top of the side poles and take up the slack
Job done....
 BREAKING <STRIKING> IT DOWN AND FOLDING IT UP.
Strike the tent by reversing the pitching sequence, Starting with the sides, laying them down on under the still pitched roof
Relax all the ropes
Pull out the centre pole (The ropes will keep the roof more or less in position)
Remove all the poles between the corners
Then remove the corner poles one by one
The roof is on the ground.... get it flat & pulled out as much as possible
Take off your shoes, walk to the middle, grab the spigot cap and twist the canvass round until all the slack is taken up
Follow folding sequence in the photo: -
Fold one side flat and square up to the spigot cap........ Fold the opposite side in
Repeat for the other two sides (Your roof is now half the size)
Repeat again (Your roof is now quarter the original size, and is about as thick as the height of the twisted bit in the middle, stomp the folded canvass down with your BARE feet
Now fold side 1 all the way over to side 2, and flatten with your feet & body weight
You now have a strip of folded canvas, long & narrow
Fold one narrow edge up to the middle (flatten)
NOW THE BIG TRICK
Flip everything upside down
Then fold the opposite narrow edge back..........
CONGRATULATIONS You are done................
See the pack size......
From there it’s the sides / poles / pegs and dis-assemble the 2 halves of the centre pole...
Time to put up +- 30 minutes Time to strike down 45 or so minutes....
Hehehehe Visual aids <Photo's>
Putting up to Stage 1
All good.... The rest is easy-peasy from here,
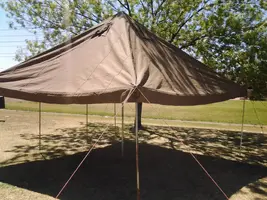
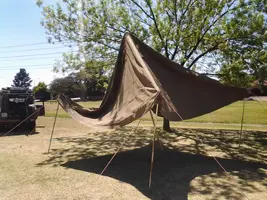
De construction & folding up Get it on the ground, flat & square
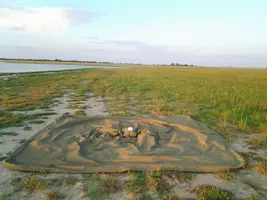
First folding
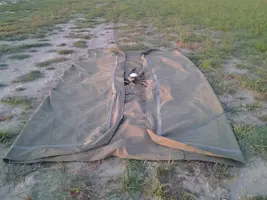
First folding step 2
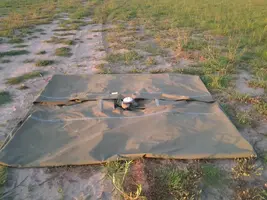
Second folding
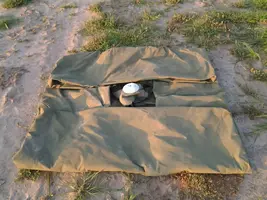
Third folding all the way over
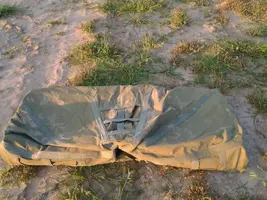
Narrow side to the middle

BIG TRICK... FLIP THE WHOLE SHEBANG OVER Without this you aint got a snowballs chance in hell
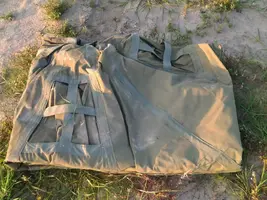
second side folded back over itself.
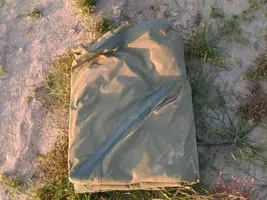
Final pack size..... in mm....



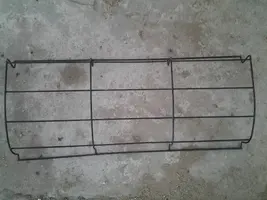
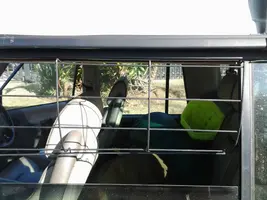
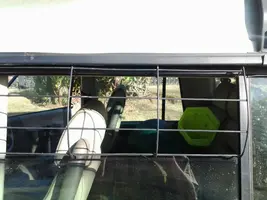
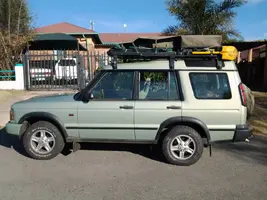



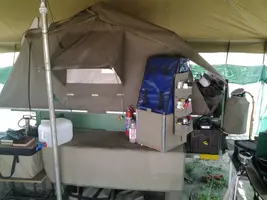

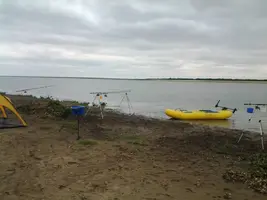



 some grub, potable water in the roof top tank and I'm off...


 repeat the whole damn thing but "over there" and like this........have inspection....

